Wind is the single most common cause of roof damage in New Jersey. Nor'easters, summer thunderstorm fronts, and the occasional hurricane remnant all put serious uplift pressure on roofs that weren't installed (or weren't maintained) to handle it. The good news: most wind damage is preventable, and the prevention work is cheap compared to the repair.
How wind actually damages a roof
Shingles don't blow off in the way it looks on the news. What happens is uplift: as wind moves over the roof surface, it creates a low-pressure zone above the shingles (the same physics that lifts an airplane wing). That pressure pulls upward. If the shingle's adhesive seal has weakened (from age, sun, or improper installation), the wind lifts the edge, gets underneath, and peels the shingle off the roof.
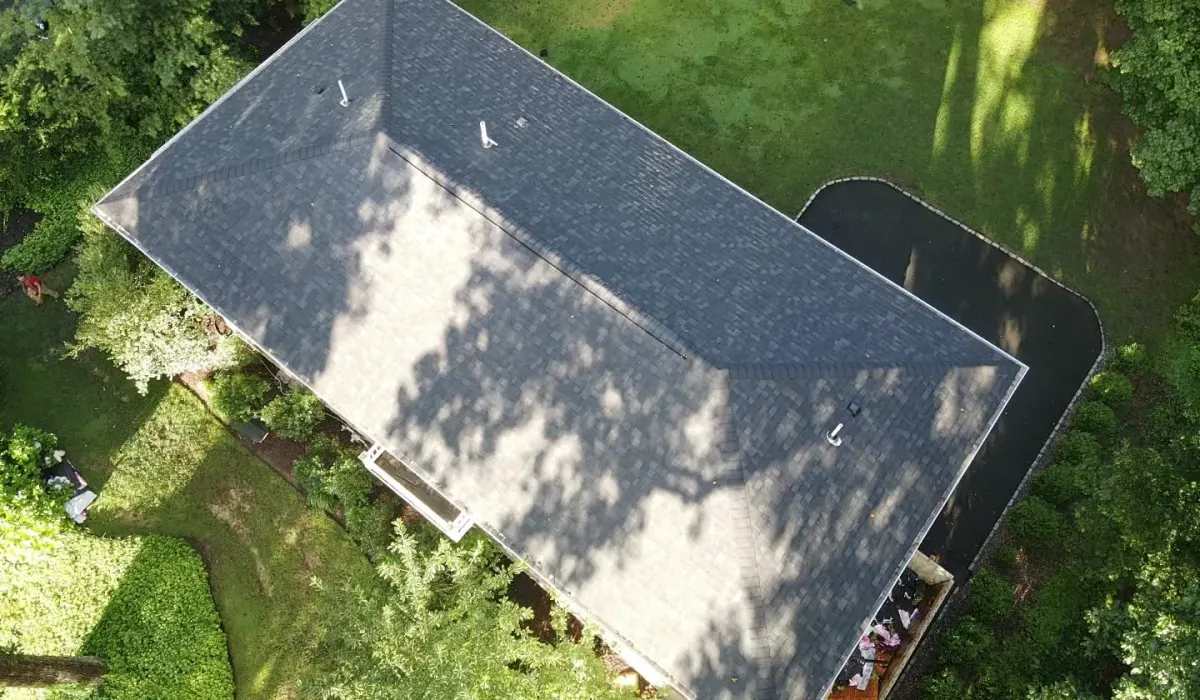
Uplift is strongest at the edges of the roof, the corners, and the ridges. That's why wind damage almost always starts at perimeters, not in the middle of a roof field.
Wind ratings: what 110 vs. 130 mph means
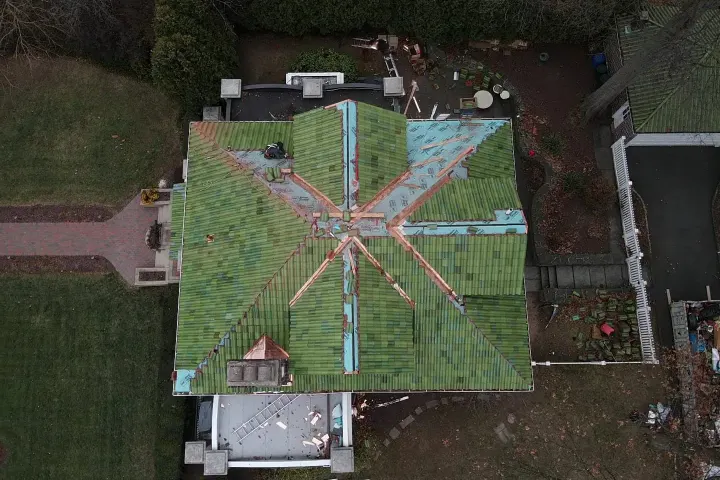
Asphalt shingles are tested and rated for wind resistance. Most architectural shingles installed in NJ today are rated to 110 or 130 mph. Higher-rated lines (often called "impact-resistant" or "high-wind") go to 130+ mph with proper installation. But here's the catch: the rating only applies if all the installation requirements are met. These include an enhanced nailing pattern (typically 6 nails per shingle instead of 4), starter strip along eaves and rakes, hand-sealing in cold weather installs, and properly installed ridge cap. Skip any of those and the warranty doesn't honor the rating.
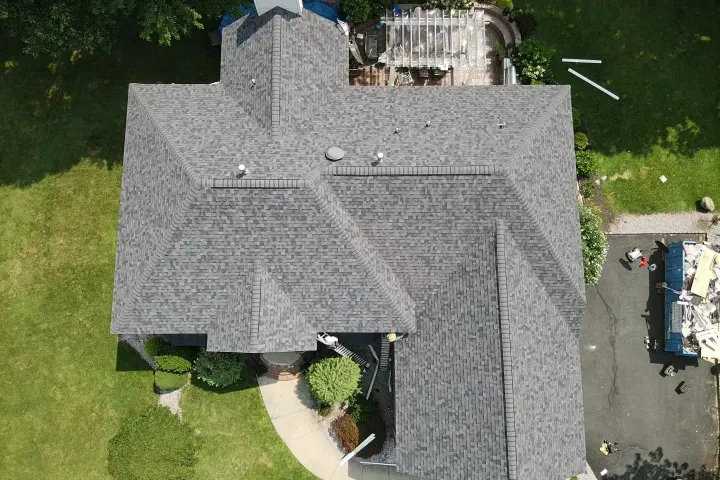
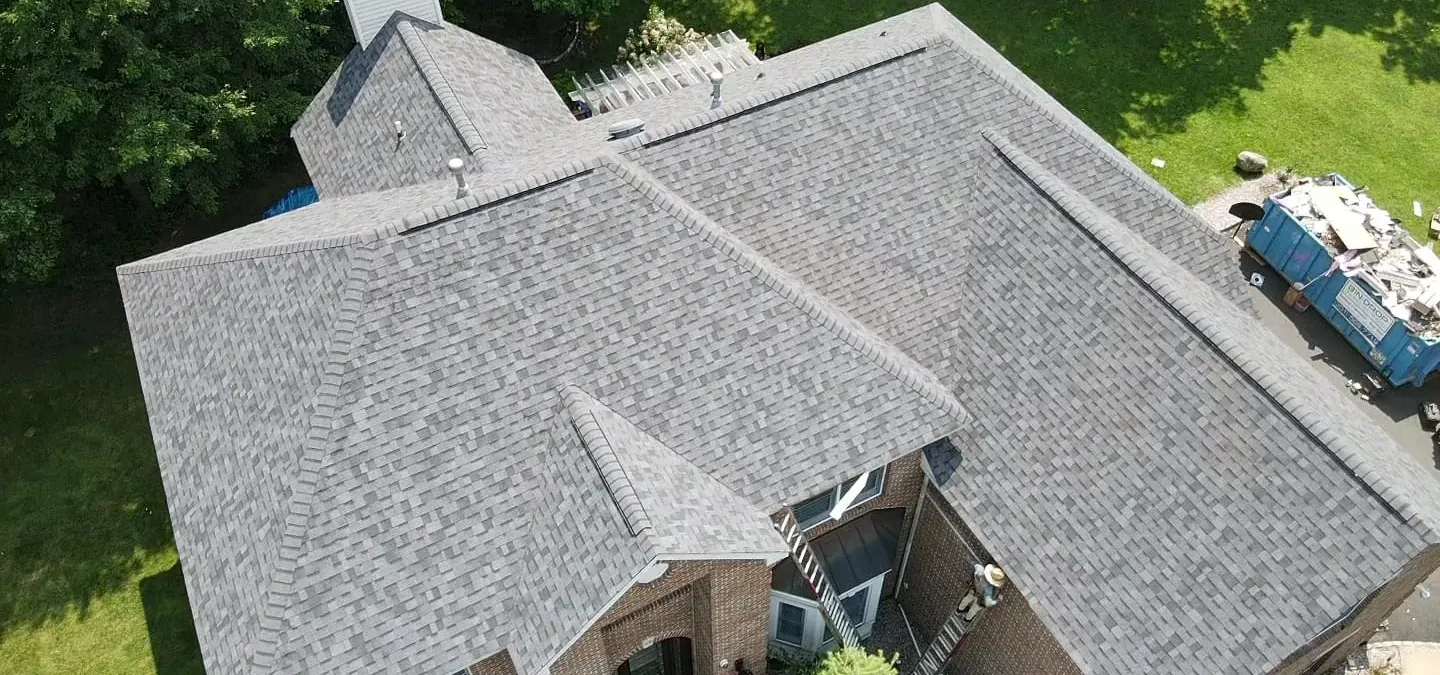
The vulnerable spots
- Eaves: the first row of shingles is the first thing wind catches
- Rakes (the angled edges on the gable end): same issue, different direction
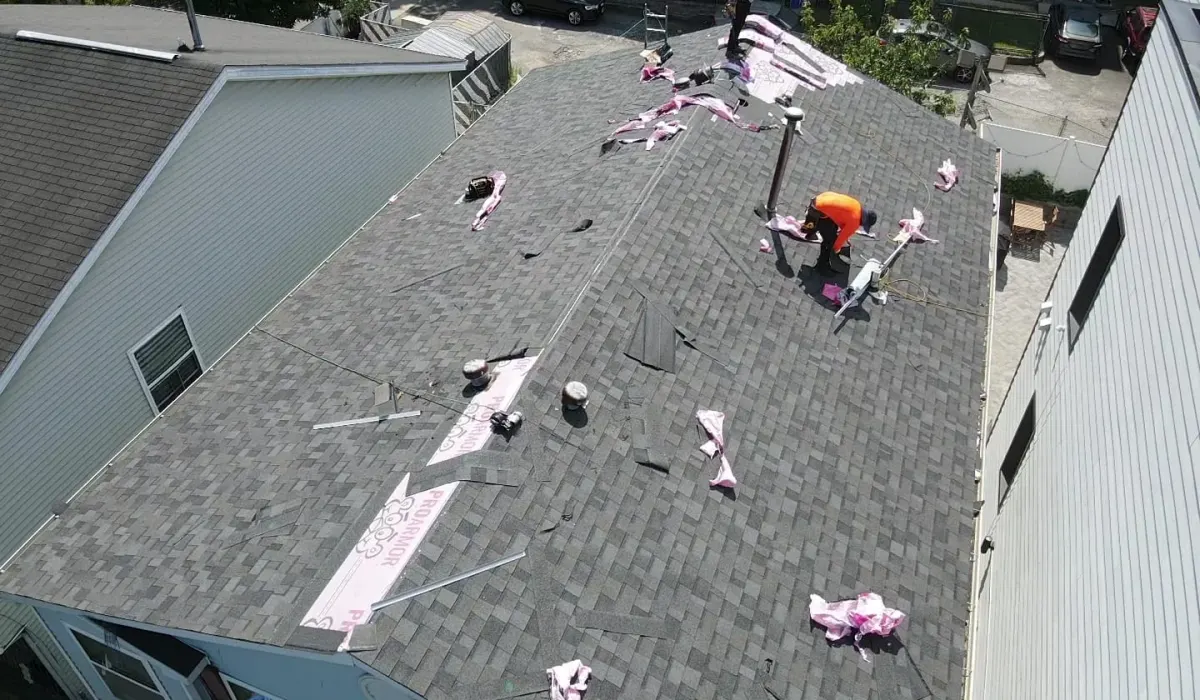
- Ridges and hips: pre-cut ridge cap can blow off in sequence once one piece lifts
- Around skylights, chimneys, and vents: uplift pressure is amplified by the obstacle
- Anywhere shingles have lost their seal: sun, age, or installation in cold weather without hand-sealing
The proactive maintenance checklist
- Annual visual inspection from the ground: look for lifted shingle edges, missing tabs, exposed nails, damaged ridge cap
- Re-seal any shingle tabs you can see lifting: a dab of roof sealant under each tab, pressed flat for 30 seconds
- Replace any cracked or missing ridge cap shingles immediately
- Tighten or replace any loose flashings, especially counter flashing on chimneys
- Make sure starter strip is present along eaves and rakes (you can see this from the ground at the edge of the first course)
Hardware and details that matter
- Starter strip shingles: strip shingles with adhesive along the edge, installed under the first course. The single most important defense against eave blow-off
- Six-nail installation: six nails per shingle instead of four. Required for the high-wind rating on most manufacturer warranties
- Properly placed nails, in the nail zone, not above it. Overdriven or high-driven nails are a common installation defect that shows up as wind damage three years later
- Hip and ridge cap shingles: matched, sealed, and properly nailed. Generic 3-tab pieces cut down for ridges blow off in moderate wind
- Drip edge metal: code-required, but also helps shingles stay sealed at the edge
Before a forecasted storm
- Trim back tree branches within 10 feet of the roof: branches whipping in wind tear shingles even when they don't break
- Clear gutters: clogged gutters back water up under shingles when driving rain hits
- Secure loose outdoor items that could become projectiles into the roof, such as patio furniture, grills, and trash cans
- If you have any known repair issues, get them addressed before the storm, not after
- Take a set of "before" photos of the roof and exterior: invaluable for insurance if damage occurs
After the storm: the safe walkaround
Don't climb on the roof after a storm; that's how people fall. From the ground, with binoculars if you have them, look for:
- Missing shingles, especially at edges, ridges, and around skylights
- Shingles that look lifted, curled, or out of plane with their neighbors
- Granules in unusual quantity at downspout outlets (suggests hail or significant abrasion)
- Bent or detached gutters, broken downspouts
- Damaged or twisted flashing, vent caps, or ridge vents
- Debris on the roof: branches that landed and may have damaged shingles underneath
- Interior signs: water stains, drips, damp insulation in the attic
When to call a pro
Anything beyond a single visible missing shingle warrants a professional inspection, and so does any new interior water sign, even if the exterior looks intact. Wind damage frequently breaks the shingle seal without removing the shingle itself, leaving a problem that won't become obvious until the next rain. A roofer doing an honest inspection will walk the roof, photograph anything questionable, and tell you whether it's an insurance claim, a maintenance repair, or just a watch-and-see item. That call is worth making while the storm is still fresh, both for insurance documentation and to get on a real schedule before the post-storm rush.